
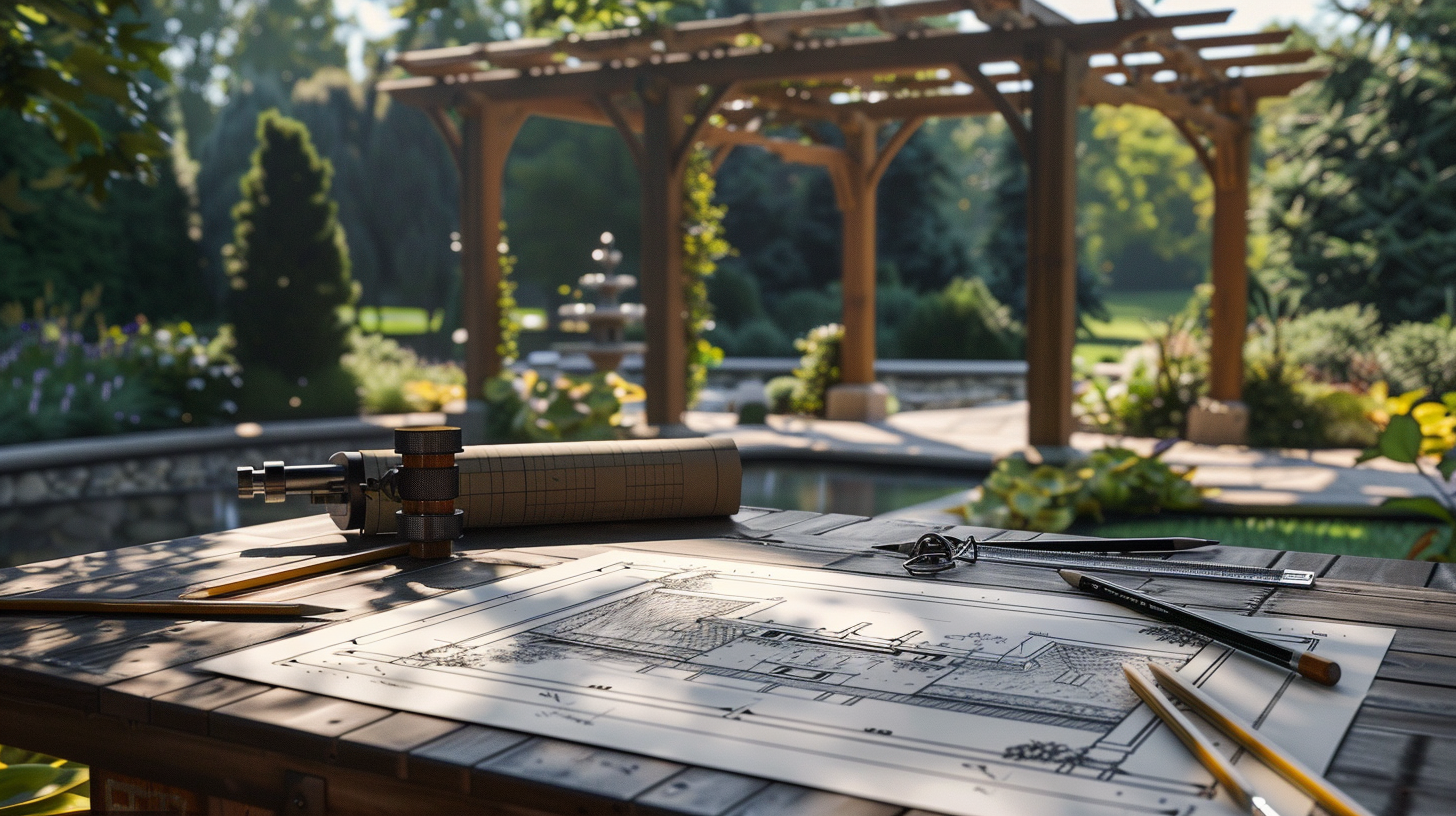
To design and construct your dream pergola, first identify the perfect location, considering sunlight, wind, and privacy. Choose a style and materials that enhance durability and aesthetics. Sketch your design, detailing dimensions and materials. Collect essential tools like a circular saw and drill. Prepare your site by clearing and setting up a sturdy foundation with post holes filled with concrete. Build the main frame, ensuring alignment, then install evenly spaced rafters and beams. Add aesthetic touches such as decorative brackets and plants. Finally, maintain your pergola with regular cleaning and inspections to keep it beautiful and sturdy. Explore further to uncover additional tips and detailed techniques.
Choose the Perfect Location
When selecting the ideal spot for your pergola, consider factors such as sun exposure, wind patterns, and privacy to guarantee it enhances your outdoor living space both practically and aesthetically. You’ll want to choose a location that maximizes comfort and usability throughout the year. Think about how the sun moves across your yard; a spot with morning sun and afternoon shade is often optimal for comfort.
Assess the wind direction too. A sheltered location minimizes wind exposure, making your pergola a calm retreat. Privacy is essential, especially if you’re looking to create a secluded nook. Consider surrounding structures and plantings that could shield your space from prying eyes.
Make sure your chosen location has level ground, as uneven terrain can complicate construction and affect the structure’s stability. Check for sufficient clearance from other structures or large trees, which could impact both the aesthetics and safety of your pergola.
Lastly, consider the pergola’s proximity to your home. Placing it too far may reduce its accessibility and visibility, detracting from its potential as a central feature in your outdoor living area. A well-thought-out location ensures your pergola is both attractive and functional.
Select Style and Materials
Choosing the right style and material for your pergola is vital, as it will define its look, functionality, and durability in your outdoor space. You’ve got a variety of styles to contemplate, from a traditional wooden pergola that exudes a classic charm to a modern metal structure that offers sleek lines and minimalistic appeal.
If you’re leaning towards a more natural, earthy vibe, a rustic pergola using rugged materials might be right up your alley. When it comes to materials, your choices range from natural wood like cedar or redwood, known for their durability and resistance to decay, to modern, low-maintenance options like vinyl or aluminum.
Each material has its own set of benefits concerning durability, cost, and aesthetic appeal. Cedar, for instance, not only withstands harsh weather but also ages beautifully, adding character to your space. It’s essential to contemplate your local climate and the maintenance you’re willing to undertake.
Wood might require regular staining or sealing to maintain its look and longevity, whereas materials like aluminum or vinyl offer ease with very minimal upkeep. By aligning material durability with climate and maintenance requirements, you’ll guarantee your pergola remains a centerpiece of aesthetic appeal and functionality for years to come.
Sketch the Design Plan
As you sketch your design plan, it’s essential to choose the best design features that blend seamlessly with your home’s architecture.
Consider the structural dimensions carefully; the size and shape of your pergola will dictate its functionality and overall impact in your outdoor space.
Make sure to select materials that not only complement the look but also guarantee longevity and ease of maintenance.
Choose Optimal Design Features
Begin by outlining your pergola design plan, focusing on customized dimensions, post styles, and roofing options to suit your outdoor aesthetic perfectly. Explore the selection of design features that capture both the functionality and beauty you desire. It’s not just about the structure; it’s about creating your personal retreat.
When choosing the best design features, consider how each element will enhance your overall outdoor experience:
- Colors and Materials: Choose colors that blend harmoniously with your home’s exterior and existing landscape. Whether you opt for natural wood hues or bold, painted finishes, make sure they evoke a sense of tranquility and joy.
- Canopy Styles and Post Sizes: Select a canopy style that offers the right balance of shade and openness, reflecting how you intend to use the space. Larger post sizes can provide a sturdier feel, while slimmer posts might lend a more elegant air.
- LED Lighting and Additional Features: Picture soft, integrated LED lighting that allows you to enjoy your pergola during the evening hours. Consider adding features like retractable shades or privacy screens to enhance comfort and usability.
Each choice should align with your vision, creating a space that isn’t only practical but also a true extension of your home’s character.
Consider Structural Dimensions
Sketch your dream pergola carefully, considering the height, width, and depth to guarantee it fits and enhances your outdoor space flawlessly. You’ll want to make sure the scale is proportionate to your garden or patio, creating a harmonious look that complements its surroundings. The layout should facilitate the flow of movement around and under the pergola, making it a functional part of your outdoor living area.
When determining the size of your pergola, think about the structural dimensions that will provide stability. The size of the posts, beams, and rafters are essential; they not only support the structure but also add to its aesthetic appeal. For instance, thicker beams can create a more robust and grandiose appearance, while slimmer ones may lend a sleek, modern feel.
Be meticulous in tailoring these dimensions to suit your specific needs and spatial constraints. This customization guarantees that your pergola isn’t only stable but also perfectly scaled to your intended use—whether it’s for large gatherings or a cozy reading nook.
Select Materials Wisely
Choose your pergola materials carefully, considering their durability, maintenance needs, and how well they complement your home’s style. The materials used in the design of your pergola not only define its character but also determine its lifespan and upkeep.
Wood offers a warm, classic look but requires regular staining or sealing to withstand the elements. Vinyl, by contrast, is virtually maintenance-free, although its aesthetic may not blend as seamlessly with all architectural styles. Aluminum is robust and rust-resistant, making it a practical choice if you seek minimal upkeep and desired longevity.
To deepen the emotional connection with your project and guarantee you make the best choice for your lifestyle, consider the following:
- Durability: Opt for materials that can endure the seasons, reflecting the strength and resilience of your commitment to creating a timeless outdoor retreat.
- Aesthetic Harmony: Choose materials that not only complement your outdoor space but are in perfect harmony with your home’s existing decor, enhancing its overall charm and appeal.
- Maintenance Simplicity: Prioritize materials that align with your lifestyle, ensuring they support a balance of beauty and functionality without excessive upkeep.
Gather Required Tools
To ensure a flawless construction of your dream pergola, you’ll need to gather necessary tools including a circular saw, tape measure, level, drill, and post hole digger. Each tool plays a vital role in ensuring your pergola not only looks aesthetically pleasing but also stands sturdy and functional.
The circular saw will be indispensable for making precise cuts on your chosen materials, ensuring that every beam and post aligns perfectly with your design. It’s essential for achieving the clean, sharp lines that give your pergola its structured beauty.
Meanwhile, the tape measure is your best friend for accuracy. You’ll depend on it from the initial layout to the final touches, guaranteeing that each part of your pergola is symmetric and well-proportioned.
A level is crucial for maintaining a balanced structure. It helps prevent any unevenness that could compromise the pergola’s stability and overall look. Similarly, the drill will facilitate secure connections between components, making sure that everything is tightly assembled.
Prepare the Construction Site
Before you begin construction, carefully mark the post locations with stakes and string to guarantee your pergola is both structurally sound and beautifully aligned. This first step secures that your building efforts align perfectly with your vision, creating a harmonious addition to your backyard.
Preparing your space involves more than just plotting points; it’s about envisioning the transformation of your backyard into a stunning, functional retreat. Here are three key considerations to keep in mind:
- Assess the Location: Choose an area that enhances the natural beauty and functionality of your backyard. Consider the sun’s path, prevailing winds, and the view from your home to optimize comfort and aesthetics.
- Prepare the Ground: Clear the area of debris, rocks, and uneven soil to create a stable base. This groundwork isn’t just functional but also essential to the longevity and stability of your pergola.
- Dig with Care: When digging the holes for your posts, consider both the depth and width required for the size of your posts and the intended height of your pergola. Properly prepared holes are vital for ensuring a strong foundation.
Set Up the Foundation
Once you’ve prepared the site, begin setting up the foundation by digging post holes at each designated corner and at regular intervals to guarantee your pergola’s stability and alignment. Make sure that the depth and width of these holes are consistent, as this directly impacts the overall structure’s balance and durability.
After digging, it’s time to fill each post hole with a strong concrete mix, which will act as the secure base for your pergola. Pour the concrete carefully and make sure it’s level; this step is vital for the foundation’s integrity. As the concrete sets, install metal post anchors within it. These anchors are essential as they provide a strong hold and prevent any future shifting of the posts.
Next, focus on the alignment and spacing of the posts. Use a long level and measuring tape to check that each post aligns perfectly with the others. Consistent spacing is key to not only the structure’s aesthetics but also its functionality, securing an even distribution of weight and stress across the foundation.
Lastly, double-check the leveling of the entire foundation once more before the concrete completely hardens. This attention to detail will protect you from potential issues during the next phases of construction.
Construct the Main Frame
With the foundation securely established, you’ll now attach horizontal beams to the posts using lag bolts to outline your pergola’s main frame. This step is vital as it sets the stage for a sturdy and stylish outdoor structure. Make sure each beam aligns perfectly with your design plan, guaranteeing symmetry and balance that will define the overall aesthetics and stability of your pergola.
Building the main frame involves meticulous attention to detail.
Here’s a three-step guide to ensure emotional and structural integrity:
- Measure and Align: Carefully measure the distance between posts and verify that each beam is cut to precise lengths. An accurate alignment prevents structural issues and enhances the pergola’s visual appeal.
- Secure Connections: Use high-quality lag bolts to attach each beam securely. This not only strengthens the frame but also instills a sense of safety and durability.
- Verify and Adjust: Continuously check the level and square of the beams during installation. Minor adjustments might be necessary to maintain the perfect geometry of the frame, which is essential for both the function and beauty of your pergola.
Install Rafters and Beams
Now that you’ve constructed the main frame of your pergola, it’s important to choose the right materials for your rafters and beams to guarantee both aesthetic appeal and long-term durability.
You’ll need precise measurements and cutting techniques to maintain a uniform look and make sure each piece fits securely.
When attaching the rafters to the beams, use reliable methods like screws and joist hangers to ensure stability and structural integrity.
Selecting Suitable Materials
Choosing the appropriate materials for your pergola’s rafters and beams is vital to ensure durability, stability, and style. You’ll want to select durable materials that not only last but also complement the aesthetic of your outdoor space.
Here are your top choices:
- Pressure-Treated Wood: Renowned for its strength and resistance to rot and pests, pressure-treated wood stands up well under harsh weather conditions. It offers a natural look that can be painted or stained to match any design vision.
- Vinyl: If you’re looking for a low-maintenance option, vinyl is a fantastic choice. It doesn’t warp, rot, or require repainting. Its clean, crisp appearance maintains aesthetic appeal without the hassle.
- Aluminum: Lightweight yet sturdy, aluminum is resistant to corrosion and can be powder-coated in a variety of colors. This material is perfect for areas with severe weather conditions, offering both functionality and style.
Each material option comes with its own set of benefits tailored to different climates and design preferences. It’s important to ponder how each will interact with your local environment and contribute to the overall longevity and beauty of your pergola.
Choose wisely to ensure your structure stands the test of time and continues to dazzle.
Measuring and Cutting Techniques
Before installing your pergola, you’ll need to measure and cut rafters and beams accurately, ensuring they fit perfectly and maintain the structure’s symmetry and strength. Start by laying out your materials in a clear, organized space.
Using a tape measure, carefully measure and mark rafters and beams according to your design’s dimensions. It’s essential to double-check measurements to prevent any costly mistakes that could impact the pergola’s integrity.
Once you’ve confirmed your measurements, gear up with the necessary safety equipment like goggles and gloves. This not only guarantees your safety but also enhances precision while working. Choose either a circular saw or miter saw for the cutting process. These tools are ideal for accurate cutting techniques and can handle the thickness of the materials used for pergolas.
When making cuts, use a speed square or combination square to guide your saw. This helps in achieving clean, perpendicular cuts, adding to the aesthetic and functional quality of your pergola. Each beam and rafter should align perfectly, reinforcing the structure’s stability.
Secure Attachment Methods
To secure your pergola’s stability and aesthetic appeal, begin by firmly attaching the beams to the posts using lag bolts and pre-drilled holes to prevent any splitting of the wood. This initial step is important as it forms the foundational support of your dream structure. Make sure the beams are level and align properly with the posts for a seamless and attractive finish.
Once the beams are securely in place, focus on attaching the rafters. Here are some tips to enhance both the beauty and integrity of your pergola:
- Use Joist Hangers: These are essential for securely attaching rafters to the beams. Joist hangers provide additional support and guarantee each rafter sits flush and securely, which enhances the structural stability of the entire pergola.
- Pre-drill Holes for Rafters: Like with the beams, pre-drilling holes for the rafters ensures that the wood doesn’t split when inserting lag bolts or screws. This method not only preserves the wood’s integrity but also makes the installation process smoother and faster.
- Maintain Even Spacing: Consistent spacing between rafters not only contributes to the pergola’s overall structural stability but also its aesthetic symmetry. Measure carefully to maintain uniformity, which will be visually pleasing and functional.
Apply Finishing Touches
Enhance your pergola’s beauty and durability by applying a protective wood sealer or stain, ensuring it withstands the elements and ages gracefully. This vital step not only preserves your structure but also brings out the natural beauty of the wood, giving it a rich, finished look.
As you apply finishing touches, consider the addition of decorative elements that reflect your personal style. Ornamental brackets can add a touch of elegance, while climbing plants like ivy or wisteria will introduce vibrant greenery and natural shade as they grow. These elements transform your pergola into a living part of your garden.
For functionality and comfort, install built-in benches. These not only provide ample seating but also enhance the cohesive aesthetic of your outdoor space. Whether you’re hosting a gathering or seeking a quiet spot to relax, these benches are perfect for any occasion.
Don’t overlook the significance of integrated lighting. Strategically placed lights can create a warm, inviting atmosphere and extend your enjoyment of the space into the evening hours. Whether subtle LED strips or classic lanterns, the right lighting can dramatically change the ambiance of your pergola, making it a perfect setting for any evening event.
Maintain Your Pergola
Maintaining your pergola regularly not only preserves its beauty but also guarantees its longevity and functionality. The joy of lounging under its shade and the pride in its striking appearance can continue indefinitely with the right care.
Here are three essential steps to maintain your pergola remains a delightful retreat:
- Regular Cleaning: Adopt cleaning methods that suit the material of your pergola. Wash down wooden structures with a mild soap solution to remove dirt and prevent buildup. For vinyl pergolas, a hose down might suffice. Regular maintenance prevents the accumulation of grime that can lead to more significant issues.
- Apply Wood Sealer: Every few years, treat your wooden pergola with a high-quality sealer. This not only enhances its aesthetic appeal but also shields it from harsh weather conditions. The right sealer can drastically extend the life of your pergola, keeping it sturdy and vibrant.
- Inspect and Repair: Regularly check for signs of damage like cracks or warping. Secure fasteners and trim plants or vines that might strain or invade the structure. Timely addressing these issues prevents minor problems from escalating, ensuring your pergola stands strong and beautiful.
Conclusion
Now that you’ve built your dream pergola, step back and admire your creation. Its sturdy beams and elegant design not only enhance your outdoor space but also create a perfect spot for relaxation and entertainment.
Remember to maintain it well to preserve its beauty and functionality. Enjoy countless hours under its shade, hosting gatherings or simply soaking in the tranquility of your garden.
Your pergola isn’t just a structure; it’s a backdrop for life’s best moments.
