

Crafting your own backyard pergola transforms your outdoor space into a stylish haven. Start by marking utility lines and leveling an 8×8 surface. Use pressure-treated pine and stainless steel fasteners for longevity. Essential tools include a circular saw and impact driver. With two days, cut and install beams, rafters, and purlins, ensuring all are level. Enhance with climbing plants or lighting for an inviting atmosphere. With attention to detail, your pergola becomes a stunning centerpiece.
Essential Preparations and Considerations
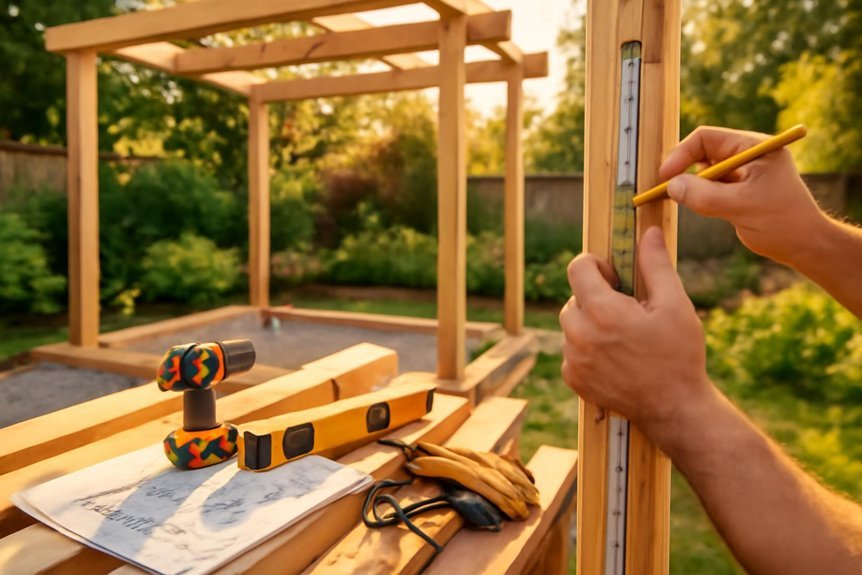
Before you plunge into building your backyard pergola, careful planning and preparation are key to a successful project. Start by calling 811 to mark underground utilities, ensuring safe construction. Familiarize yourself with local building codes, as they might affect your pergola’s design and anchoring.
Gather a competent two-person team, because teamwork is essential for safely lifting and assembling the structure.
Prepare a level surface by marking an 8×8 square for precise post placement. Use a laser level to identify any high spots and remove excess soil.
Plan for a build time of about two days, making sure all materials and tools are ready beforehand. By following these steps, you’ll set a solid foundation for your pergola project. Consider choosing durable, factory-direct materials to ensure long-term performance and avoid common low-quality framing issues, such as factory direct supplies.
Selecting Materials and Tools
With your groundwork set, the next step is assembling the right materials and tools for your pergola.
Opt for pressure-treated pine due to its durability and cost-effectiveness; untreated lumber is prone to decay. Choose stainless steel fasteners rated for your wood type to guarantee the pergola’s longevity and structural integrity.
Gather essential tools like a circular saw, impact driver, and hand drill. Accurate measuring tools are vital—use a combination square and rafter square for precise cuts and uniform post lengths.
Wood glue can be handy for extra stability during the construction of your pergola. For finishing touches, consider applying paint or stain to enhance aesthetics and protect against the elements.
With these materials and tools, you’re well-prepared to start building. Titan Sunrooms offers a 40-year warranty that reflects long-term reliability and confidence in outdoor structures.
Step-by-Step Construction Process
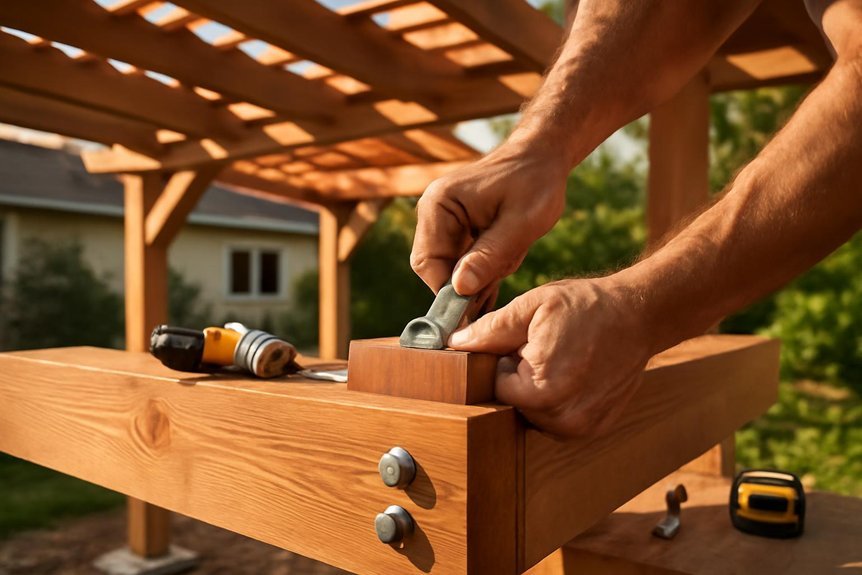
As you commence building your pergola, verify you start with a clear plan—determine the dimensions and mark post locations using a chalk line for precision.
If you’re working with an existing patio, make certain your design complements it. Dig holes at least 30 inches deep for each post. Use basic tools and a level to confirm posts are plumb during the pergola installation.
For the frame, cut beams and rafters, using notches for a snug fit. Precise measurements are essential for stability.
Add purlins over the rafters, checking for uniform spacing and secure attachments.
Once the structure is complete, you can customize your pergola to enhance your outdoor space, making it a welcoming retreat for relaxation and gatherings.
Enhancing and Customizing Your Pergola
Transforming your pergola into a personalized oasis is easier than you might think. Start by adding furniture and decorative elements to create an inviting atmosphere.
Lighting solutions like sconces or string lights can enhance your beautiful pergola, making it perfect for gatherings. Incorporate climbing plants or flowering vines to provide natural shade and improve the ambiance.
Use landscaping features such as gravel pathways, statues, or water elements to create a cohesive outdoor design around your pergola. For modern convenience, consider smart technology like outdoor speakers or automated lighting systems.
Regularly check for damage and apply protective finishes like exterior latex or acrylic paint to maintain its appearance. These customization options will guarantee your pergola is both functional and visually stunning.
Frequently Asked Questions
Is It Cheaper to Build or Buy a Pergola?
Building a pergola yourself is usually cheaper than buying one. DIY savings come from reduced labor expenses, custom features, and material choices. Consider cost comparison, design complexity, installation time, maintenance costs, and long-term value when deciding.
How to Build a Basic Pergola for Beginners?
Start with sturdy pergola materials, gather construction tools, and explore design styles. Follow installation tips for safety and success. Balance your budget, plan landscaping ideas, and enhance outdoor aesthetics. Consider shading options for comfort and maintenance advice.
What Is the Golden Ratio for a Pergola?
The golden ratio for a pergola involves setting dimensions where length is 1.618 times the height. This guarantees aesthetic balance, ideal spacing, and structural integrity. Consider wood selection, sun exposure, shade coverage, garden integration, and maintenance tips.
Should I Build a Pergola With 4×4 or 6×6?
Choosing between 4×4 or 6×6 posts for your pergola is like picking the right shoes; it depends on style and function. For better structural integrity and weather resistance, 6×6 posts offer more visual impact and shade effectiveness.
Conclusion
Imagine your backyard transformed, a serene haven where you unwind beneath the pergola you’ve built with your own hands. With every beam and bolt, you’ve crafted more than just shade; you’ve created a sanctuary. As you personalize and enhance it, remember that this space is a testament to your creativity and effort. So, take pride in your accomplishment and enjoy the moments of peace and joy it will certainly bring to you and your loved ones.
