
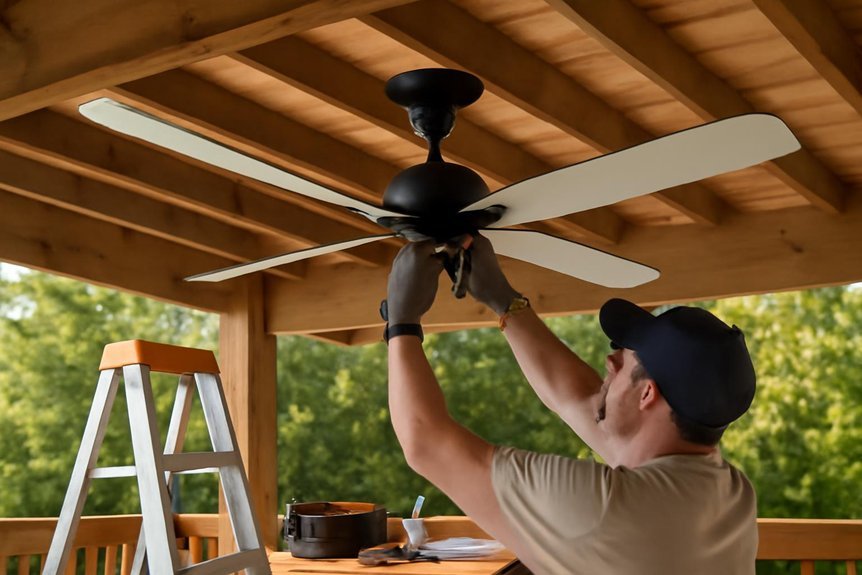
To install pergola ceiling fans effectively, start by picking an outdoor-rated fan with rust-proof parts and a sealed motor. Use a weatherproof, fan-rated box directly attached to a strong joist. Run outdoor-rated wiring like UF cable in conduit for safety. Match the fan’s size to your pergola, and add remote controls for convenience. Shield the fan from rain and sun, and clean it often for longevity. Stick with these tips, and you’ll discover even more expert ideas ahead.
Choosing the Right Outdoor Ceiling Fan for Your Pergola
One of the most important steps in adding a ceiling fan to your pergola is choosing a model designed for outdoor use. You’ll want an outdoor ceiling fan specifically rated for damp or wet locations, so it can handle exposure to rain and humidity.
Look for features like corrosion-resistant materials and sealed motors to maximize durability. Consider the fan’s size and blade pitch—pick a span and style that suits your pergola’s dimensions for efficient airflow.
When planning for fan mounting, guarantee you have enough clearance for both safety and performance. Remote controls and integrated lighting add convenience, letting you stay comfortable without leaving your seat.
Finally, perform routine cleaning and inspections to keep your fan running smoothly through every outdoor season. For added value and longevity, consider pairing your fan with a pergola-patio cover built from durable materials that resist rotting and provide shade and rain protection.
Selecting Weatherproof and Code-Compliant Fan Boxes
After you’ve selected an outdoor-rated ceiling fan for your pergola, it’s time to think about how you’ll safely install it.
The fan box is critical—don’t use a standard indoor version. Instead, choose a weatherproof fan box that’s specifically designed for outdoor use to protect your outdoor fan’s electrical connections from moisture and the elements.
Make sure your fan box is rated to support the weight of your chosen outdoor fan, as heavier models demand more robust support. For code compliance, securely mount the box to a structural member like a joist or cross brace.
Run any wiring with Underground Feeder (UF) cable, which meets NEC standards for outdoor installations. For a polished look and added protection, pick a fan box with a weather-resistant cover ring.
For inspiration on durable outdoor builds, consider systems that use hurricane-resistant framing, which are engineered to withstand high wind loads and tough weather.
Best Mounting Techniques for Stability and Safety

Secure mounting is essential for both the safety and performance of your pergola ceiling fan. When mounting a ceiling fan, always attach the fan’s box directly to a ceiling joist or a support bracket between joists. This guarantees maximum stability and prevents movement that could compromise safety.
Use a junction box rated for ceiling fan use, not just a standard electrical box, and make certain it’s suitable for damp or wet locations. For low-profile installations, a pancake box is ideal, but only if it’s rated for outdoor conditions.
If your pergola uses 2×8 or 2×10 beams, align the box directly with the wood surface to prevent gaps. Adding a wooden block or brace beneath the box provides extra support and helps shield electrical components from rain.
For projects in coastal or high-wind areas, consider hardware and framing with high wind ratings similar to Titan’s thicker Colorbeam components to enhance durability and stability.
Running Outdoor-Rated Electrical Wiring and Conduit
Once the fan is securely mounted, it’s time to address the wiring that powers your pergola ceiling fan.
You need to use UF (Underground Feeder) cable, as it’s specifically designed for outdoor applications and resists moisture far better than standard NM cable. Always check that your wiring meets all local codes; outdoor-rated wiring and conduit are often required.
When running the wire to install a ceiling fan, convert the UF cable into a plastic conduit as it exits the support column. This conduit shields the cable from water and weather-related damage.
Choose a wire gauge that matches your ceiling fan’s ampacity and wattage, based on manufacturer specs and code. Periodically inspect all connections and conduits for signs of wear or deterioration.
Achieving a Seamless and Attractive Installation

To create a clean, professional look for your pergola ceiling fan, start by choosing a weatherproof, fan-rated pancake box that sits flush with the structure.
Secure this box to a sturdy cross member like a 2×4 or 2×8 beam—this gives your ceiling fan reliable support and keeps the installation neat.
Pick a ceiling fan designed for outdoor use to guarantee lasting appeal and function.
Use hardware and mounting blocks that match or are painted to blend with your pergola’s finish, preventing the fan from looking bulky or out of place.
Attach the base plate firmly to the mounting box to eliminate wobble and maintain a sleek, integrated appearance.
These choices help your ceiling fan complement your pergola, not detract from its design.
Protecting Fans From Rain, Moisture, and Sun Exposure
Even on covered patios, outdoor ceiling fans face constant threats from rain, humidity, and harsh sunlight. To protect your fan, always choose a model rated for wet or damp locations—these are designed to handle moisture without internal damage.
When mounting the fan, use weatherproof boxes and covers to guard the wiring and motor from water intrusion, which also prevents electrical short circuits. Install the fan securely under the pergola roof, avoiding direct rainfall, and consider angled canopies to channel water away from vulnerable parts.
For further durability, make sure all mounting hardware is made from corrosion-resistant materials, helping every component withstand the elements. With these steps, you’ll safeguard your pergola fan against weather damage, ensuring smooth and safe operation in any season.
Maintenance Tips for Long-Lasting Pergola Ceiling Fans
While a pergola ceiling fan brings comfort and style to your outdoor space, consistent maintenance guarantees it keeps running smoothly for years to come.
Start by cleaning the fan blades and motor regularly to prevent dust and debris buildup, which improves airflow efficiency and prolongs the lifespan of your ceiling fans.
For proper Home Improvement and safety, inspect the wiring and electrical connections often; look for signs of wear, corrosion, or moisture damage.
Annually lubricate the motor and bearings as directed by the manufacturer to minimize friction.
Wipe the fan’s exterior with a damp cloth to remove mildew, especially in humid environments, ensuring it looks great and functions well.
During severe weather, store the fan indoors to safeguard against damage.
Conclusion
Installing a ceiling fan in your pergola isn’t as hard as you might think. When you choose the right outdoor fan, use weatherproof mounting, and run code-compliant wiring, you’ll enjoy cool breezes and safe operation for years. Focus on protection from the elements and regular maintenance, and your fan will handle the outdoors with ease. With these tips, you’ll upgrade your pergola for both comfort and style—making your outdoor space even more inviting.
