
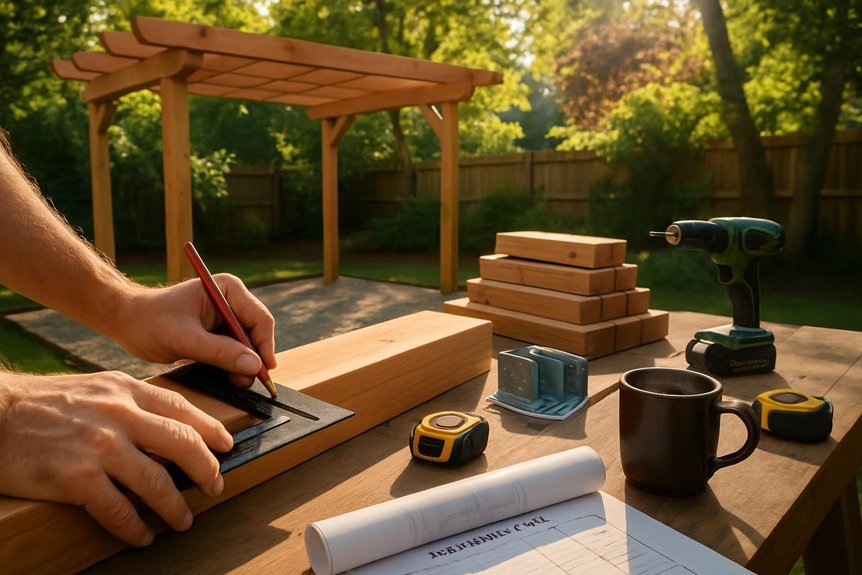
To build an affordable pergola, use pressure-treated lumber for cost and decay resistance, securing with outdoor-rated fasteners. Mark an 8×8 square on level ground, dig post holes 2 feet deep, and set 6×6 posts with braces. Attach cross beams with lag screws, then install 2×4 slats approximately 23 inches apart for shade. Apply a weatherproof finish and decorative elements for added charm. Explore further for detailed steps and tips to guarantee your pergola is both sturdy and stylish.
Selecting the Right Materials for Your Pergola

When you’re planning to build a pergola, choosing the right materials is vital for guaranteeing its longevity and durability. Pressure-treated lumber is your best bet for outdoor structures, as it resists decay and is cost-effective compared to untreated wood.
For your DIY pergola, make certain you select fasteners rated for exterior use to prevent rusting. Post bases and concrete footings are essential in areas with strong winds or heavy rainfall, providing added stability to your pergola project.
Always check local building codes to verify your design complies with regulations. Remember to retreat any cut surfaces of pressure-treated lumber with a preservative. This practice will enhance the lifespan of your pergola and protect it from moisture damage. Titan Sunrooms offers factory direct products that can improve durability and reduce costs.
Preparing Your Site for Construction
Before you start building your pergola, it’s vital to prepare your site properly to guarantee a stable and long-lasting structure.
Begin by marking an 8×8 square on the ground to define your pergola’s location. This guarantees adequate space for construction and aesthetic appeal. Use a laser level or batter boards to establish a level line, and remove soil from high points until the ground is fully prepared.
Don’t forget to call 811 to mark any underground utilities before digging post holes. Once clear, compact the soil with a tamper for a stable foundation. This step is significant in DIY projects to prevent settling.
Verify the post level is accurate before installing the 6×6 posts for a secure, sturdy pergola.
Titan Sunrooms recommends using high wind framing for coastal or hurricane-prone areas to ensure enhanced structural strength and longevity.
Step-by-Step Instructions for Building the Pergola Frame
To start building your pergola frame, first measure and mark the ground for the post locations. Make certain your layout is level and aligns with your design plans.
Dig the post holes at least 2 feet deep to provide stability. Cut the 6×6 pressure-treated posts to uniform lengths, and apply a preservative to the cut ends to protect against the outdoor elements.
Stand the first post in its hole, securing it with temporary braces while you level it. Once leveled, pour concrete to set the posts firmly.
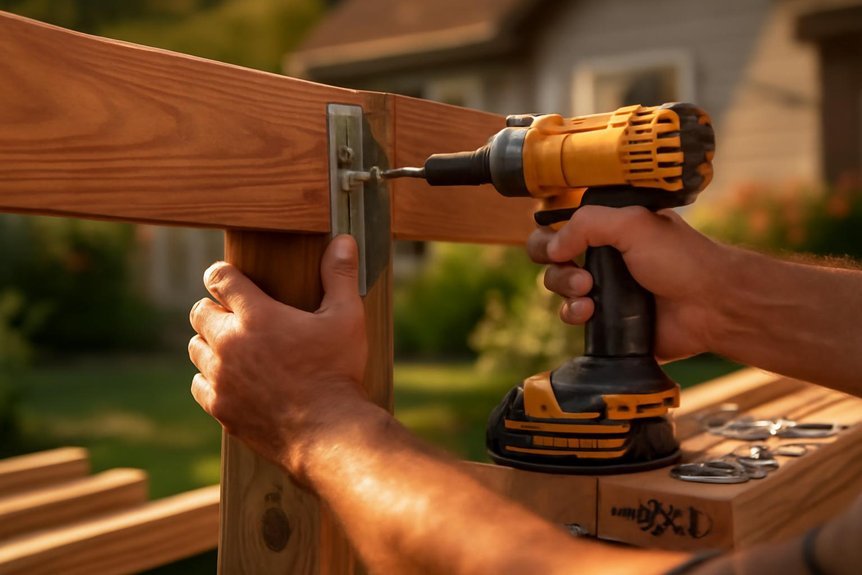
Attach cross beams to the posts with lag screws, making sure they’re level. This DIY approach guarantees your pergola installation uses just the right amount of lumber, creating a sturdy frame for your outdoor space.
Installing Pergola Slats for Added Shade
Although the pergola frame provides the essential structure, installing the slats is where you’ll truly define its character and functionality. To enhance your outdoor space with added shade, cut your 2×4 slats to the desired length.
Determine the best spacing—typically around 23 inches apart—for maximum shade. Use two scrap wood pieces, each cut to 10-1/2 inches, as spacers to maintain even slat spacing. Secure each slat using angled deck screws to guarantee structural integrity.
- Align the first slat with the marked line on the pergola.
- Drive an angled screw at one end to secure the slat.
- Use spacers for consistent spacing with the next slat.
- Repeat for all slats, making sure they’re securely fastened.
- Apply a weather-resistant finish for durability against the elements.
Final Touches for Your DIY Pergola Project
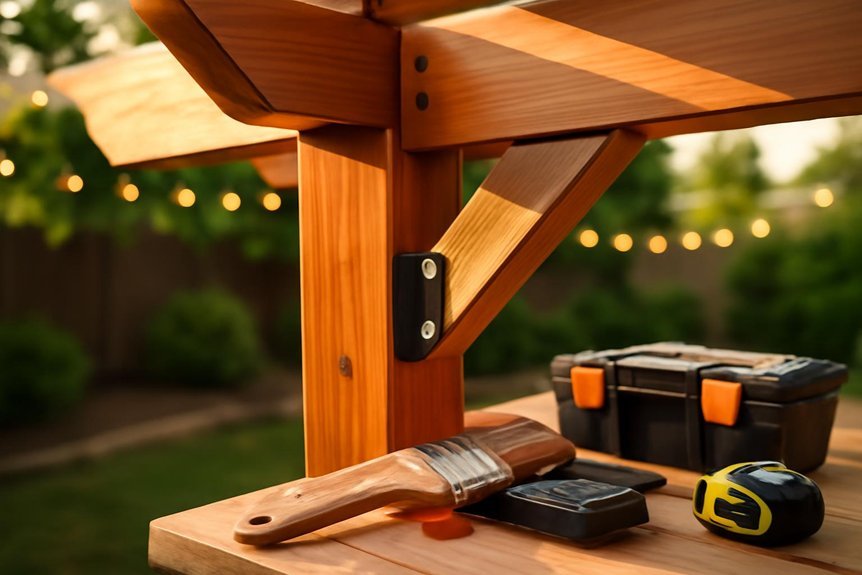
Once you’ve constructed the basic framework of your pergola and installed the slats for shade, it’s time to focus on those final touches that will truly make it your own.
Start by applying a weatherproof sealant to protect the wood and enhance durability.
Consider your personal pergola design: are you ready to dig into decorating? Add decorative elements like climbing plants, string lights, or outdoor curtains for a cozy atmosphere.
Use a stain or paint that matches your outdoor decor and provides extra weather protection.
Incorporate functional features such as a retractable canopy or shade sails for adjustable shade.
Regularly inspect the pergola for loose screws or splintered wood to guarantee its structural integrity.
Hanging plants can add a lively touch too.
Frequently Asked Questions
Is It Cheaper to Buy or Build a Pergola?
Building a pergola yourself is usually cheaper. You save on labor expenses and enjoy DIY savings. Prefab options might offer quicker installation time, but customizing materials and design flexibility can improve material quality and create a better long-term investment.
What Materials Do You Need to Build a Pergola?
Building a pergola is like constructing an outdoor oasis. You’ll need pergola materials like pressure-treated wood types, metal options for hardware, fabric choices for shade, concrete bases, installation tools, plus weatherproofing tips and maintenance advice for longevity.
How to Build a Basic Pergola for Beginners?
Start with pergola construction basics by measuring your outdoor space. Use the essential tools checklist: hammer, level, drill. Choose durable wood types. Follow DIY pergola tips for assembly. Explore pergola decoration ideas and maintenance tips for long-lasting beauty.
What Are Common Pergola Design Mistakes?
Design flaws like ignoring local codes are the cat’s pajamas, but you shouldn’t overlook size proportions or inadequate spacing. Prioritize material selection, structural stability, and aesthetic balance. Consider weather impacts and plan maintenance for long-lasting enjoyment.
Conclusion
Congratulations on completing your DIY pergola! Did you know that a well-built pergola can increase your home’s value by up to 20%? You’ve not only enhanced your outdoor space but also made a smart investment. With the right materials and careful planning, you’ve created a beautiful, functional area for relaxation and entertaining. Now, grab a comfy chair, sit back, and enjoy the shade and style your new pergola brings to your backyard. You’ve earned it!
