
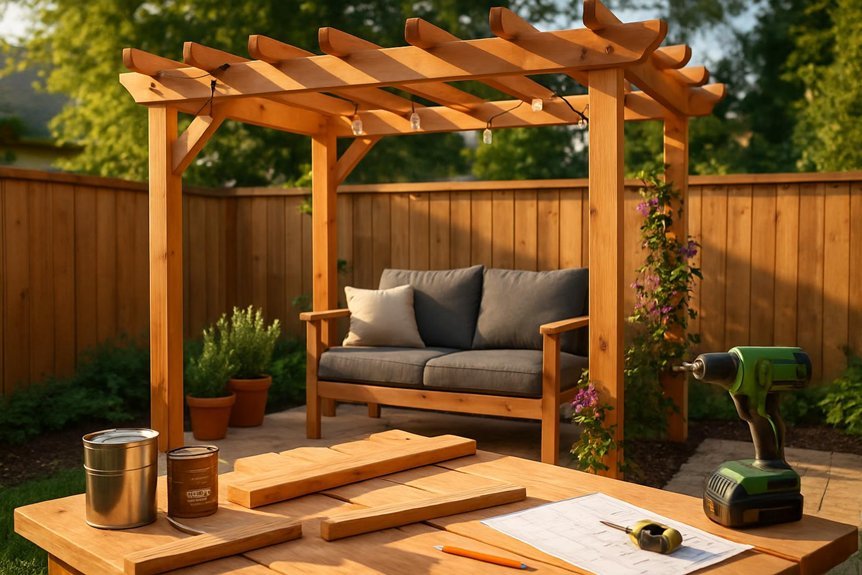
Transform your small patio with a pergola by choosing a location offering shade without blocking views. Guarantee you comply with local building codes and select materials like cedar or composite for durability. Gather tools like a drill and saw, prepare the site, and construct a sturdy framework. Finish with protective coatings and install ambient lighting. Add climbing plants for charm. If you follow these steps, you’ll unfasten a wealth of creativity and style options.
Choosing the Right Location and Size
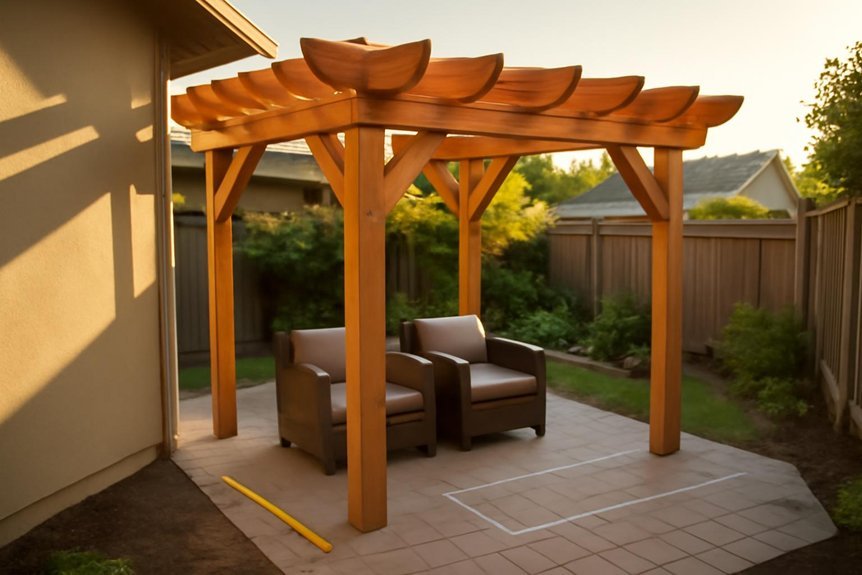
Selecting the perfect spot for your patio pergola is vital to its functionality and aesthetics. Begin by evaluating your outdoor space to find a location that complements your existing layout.
Make sure the pergola provides shade without obstructing pathways or views from the house. Accurate measurements are essential; typical sizes range from 8×8 feet for compact areas to 12×12 feet for larger patios. Consider the height, usually 8 to 10 feet, for comfortable use and enough overhead space.
Choose a site with proper drainage to avoid water accumulation during heavy rain—steer clear of low-lying areas.
Examine nearby trees and structures to prevent unwanted shade and guarantee ample sunlight for your pergola. This careful planning enhances your outdoor space’s overall appeal and usability.
Factory-direct sourcing can help you get superior materials and save on costs when purchasing components for your pergola.
Understanding Local Building Codes
After pinpointing the ideal spot for your patio pergola, it’s time to guarantee your plans align with local building codes.
Begin by checking if permits are necessary; smaller structures like pergolas often escape this requirement, but compliance with zoning laws is essential.
Building codes may dictate your pergola’s maximum height and spacing, ensuring safety and structural integrity. Additionally, these codes can influence your choice of materials, possibly restricting you to wood, vinyl, or metal.
Be mindful of setback requirements, which dictate how far your pergola must be from property lines or existing structures.
Consulting your local building department early in the construction process can provide valuable insights, ensuring your DIY project remains compliant and avoids potential fines or forced alterations.
Consider materials engineered for durability in coastal or high-wind areas, such as Colorbeam technology, when selecting your pergola components.
Selecting Aesthetic and Durable Materials
While planning your patio pergola, choosing the right materials is essential for both aesthetics and durability.
Rough-sawn western red cedar offers natural resistance to rot and insect damage, making it a top choice for an outdoor structure. Its compatibility with stains and sealants enhances its aesthetic appeal.
If you’re on a budget, pressure-treated southern yellow pine provides long-lasting durability, though it requires a drying period before treatment.
For a low-maintenance option, composite materials can work, but make certain they complement your home’s architecture to maintain visual appeal.
Prioritize structural integrity and style, whether you prefer rustic wood or sleek finishes.
To further enhance longevity, apply clear protectants to wooden components, safeguarding against moisture and UV damage.
Gathering Essential Tools and Supplies
With your materials chosen, it’s time to focus on the tools and supplies needed for your patio pergola project. Start with essential tools like a drill, circular saw, jigsaw, level, and a trusty measuring tape.
Safety gear is vital for protecting yourself while working. Collect post bases and concrete anchors to guarantee your pergola stands strong and secure. If you’re aiming for a polished look, wood filler can help smooth out imperfections.
A combination square is handy for precise measurements and cuts. Don’t forget a ladder to safely reach higher areas as you construct.
Optional materials like paint, stain, and weather-resistant glue can enhance both durability and aesthetics. Gather these supplies to set yourself up for DIY success!
Preparing the Ground and Digging Holes
Before you start digging, make sure you’re familiar with local codes and regulations to determine the required depth of the holes, typically at least 30 inches. This guarantees stability and compliance for your pergola.
Begin by preparing the ground; use stakes and a string line to accurately mark and align your post holes. Clear the area of debris to maintain a clean site for excavation.
Don’t forget to call 811 to check for underground utilities before you start digging holes—safety first! Once you’ve confirmed everything’s clear, dig your post holes.
To enhance stability, consider adding a layer of gravel at the bottom for improved drainage. These steps will help you lay a solid foundation for your pergola.
Installing and Securing Posts
You’ve prepared the ground and dug the necessary holes; now it’s time to install and secure your pergola posts. Verify holes are at least 30 inches deep to comply with local building codes and provide stability.
Use concrete footings to anchor the pergola posts securely, mixing the concrete according to package instructions for maximum strength. Before securing them in place, verify each post is plumb using a level attached to a 24-inch ruler.
Pre-drill holes in the post base to prevent wood splitting, and choose galvanized or stainless-steel screws for durability. To guarantee proper alignment, employ a string line for accurate spacing between posts.
Following these steps enhances the structural integrity and aesthetic appeal of your DIY pergola project.
Constructing the Framework and Adding Rafters
As you commence on constructing the framework and adding rafters to your pergola, focus on assembling the beams first to guarantee a sturdy base.
Start by placing the beams with their bottom edges facing upwards, ensuring accurate measurements and a stable framework. Cut half-lap notches into the beams for a precise fit, enhancing both structural integrity and aesthetic appeal.
Use a combination square to verify all measurements are accurate as you attach the rafters. Secure attachment is essential; use appropriate screws to fasten the rafters to the beams and posts, ensuring even spacing for ideal shade coverage.
Regularly check that everything is level and plumb. Following these steps in your DIY Pergola Plans will lead to a successful project.
Incorporating Lattice and Design Elements
While enhancing your pergola with lattice and design elements, you’ll discover new ways to boost its aesthetic appeal and functionality. Incorporating lattice into your pergola design not only adds visual interest but also supports climbing plants, transforming your outdoor space into a natural retreat.
Choose patterns and sizes that complement your pergola’s style—traditional or modern—introducing depth and character. Secure lattice panels with brackets or screws to maintain structural integrity, allowing airflow and filtering sunlight for a comfortable environment.
Position lattice on the sides or top to create partial shade, perfect for sunny days. Opt for weather-resistant materials like treated wood or vinyl to guarantee longevity and preserve your pergola’s appearance, even amidst changing weather conditions.
Applying Finishes and Protecting the Wood
Lattice and design elements add both beauty and function to your pergola, but protecting the wood guarantees its longevity and resilience.
Start by applying finishes like a clear protectant or solid stain to your wood surfaces. This shields them from moisture and UV damage.
Here’s your guide to a lasting pergola:
- Clean and Dry: Make sure wood is clean and dry before applying any finish for best adhesion.
- Outdoor Products: Choose stains or paints formulated for outdoor use to withstand weather changes.
- Regular Inspection: Inspect every three to four months, and reapply finishes to maintain protection.
- Stability with Glues: Use weather-resistant glues on joints for added stability against the elements.
Personalizing With Lighting and Landscaping
Transforming your pergola into a personalized oasis is easier than you might think, starting with the right lighting and landscaping.
In your outdoor living space, solar-powered string lights or LED sconces can create a cozy evening ambiance, with plenty of styles to match your pergola’s design. Hang outdoor lanterns or battery-operated fairy lights from the rafters to add charm and flexibility for every occasion.
For natural beauty, plant climbing vines like wisteria or clematis along the structure, offering shade and visual appeal. Maximize limited space by adding potted plants or a vertical garden along the posts.
Enhance your pergola’s aesthetic with gravel pathways or decorative stones that complement its materials, reflecting your personal style and creating a cohesive look.
Frequently Asked Questions
How to Build a Basic Pergola for Beginners?
Start by choosing a simple pergola design. Select durable wood and gather essential tools. Follow basic construction tips for stability, then add finishing touches like outdoor decor and shade solutions. Don’t forget maintenance advice to keep it lasting.
What Is the Golden Ratio for a Pergola?
The golden ratio for a pergola is 1:1.618. Design stylishly with diverse dimensions, choose sturdy materials, and consider climate. Integrate inviting plants, illuminate with outdoor lighting, and maintain for maximum appeal. Achieve aesthetic allure with balanced proportions.
Is It Cheaper to Build a Pergola or Buy One?
Building a pergola is cheaper than buying one. DIY advantages include material selection and design options, offering cost comparison benefits. Pre-made kits save installation time but increase costs. Consider maintenance requirements and budget planning for best choice.
How to Secure Pergola to Ground DIY?
To secure a pergola to the ground, use concrete footings or ground screws as effective anchoring methods. Confirm outdoor stability by preparing the ground properly, using anchors safely, and enhancing structural integrity for weather resistance.
Conclusion
You’ve laid the groundwork like a modern-day Michelangelo sculpting his masterpiece. With your pergola standing proud, remember to treat it with care, as Da Vinci did with his canvases. Let your creativity shine with lighting and landscaping, transforming your patio into an oasis worthy of Gatsby’s garden parties. By following these steps, you’ve not only built a structure but crafted a space where memories will be made. Enjoy your sanctuary, where every gathering becomes a tale of its own.
